My favourite season has arrived!… And you know what that means: time to get my creative juices flowing for fun and festive decorating! Every year, I host a “Friendsgiving” dinner at home, and I put my heart and soul into coming up with my tablescape concept and all the crafty elements that bring it all together.
I always start my process by scouring Pinterest. Honestly speaking, it is the best place to source inspiration and to help you think of things outside the box. For the last four years, I have incorporated pumpkins as one element of my design, and I think that this year will be no different.

Pumpkins pretty much epitomize the Thanksgiving season and there are so many ways to use them in your decor, that they make the best starting point. However, since I use them year after year, I am constantly challenged to think of new ways of incorporating pumpkins into my design.
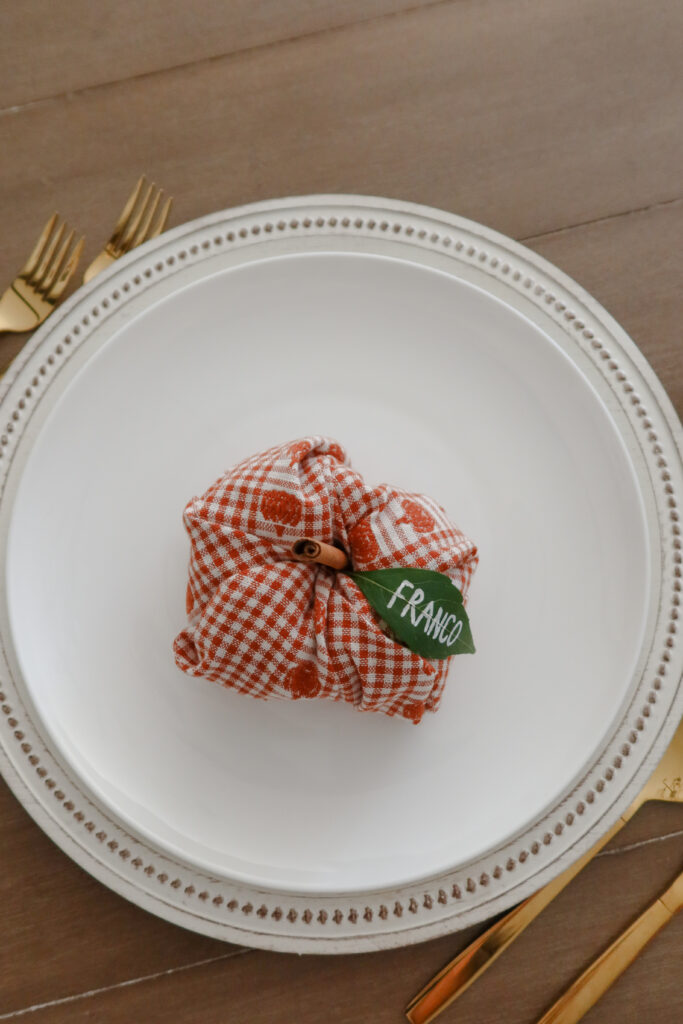
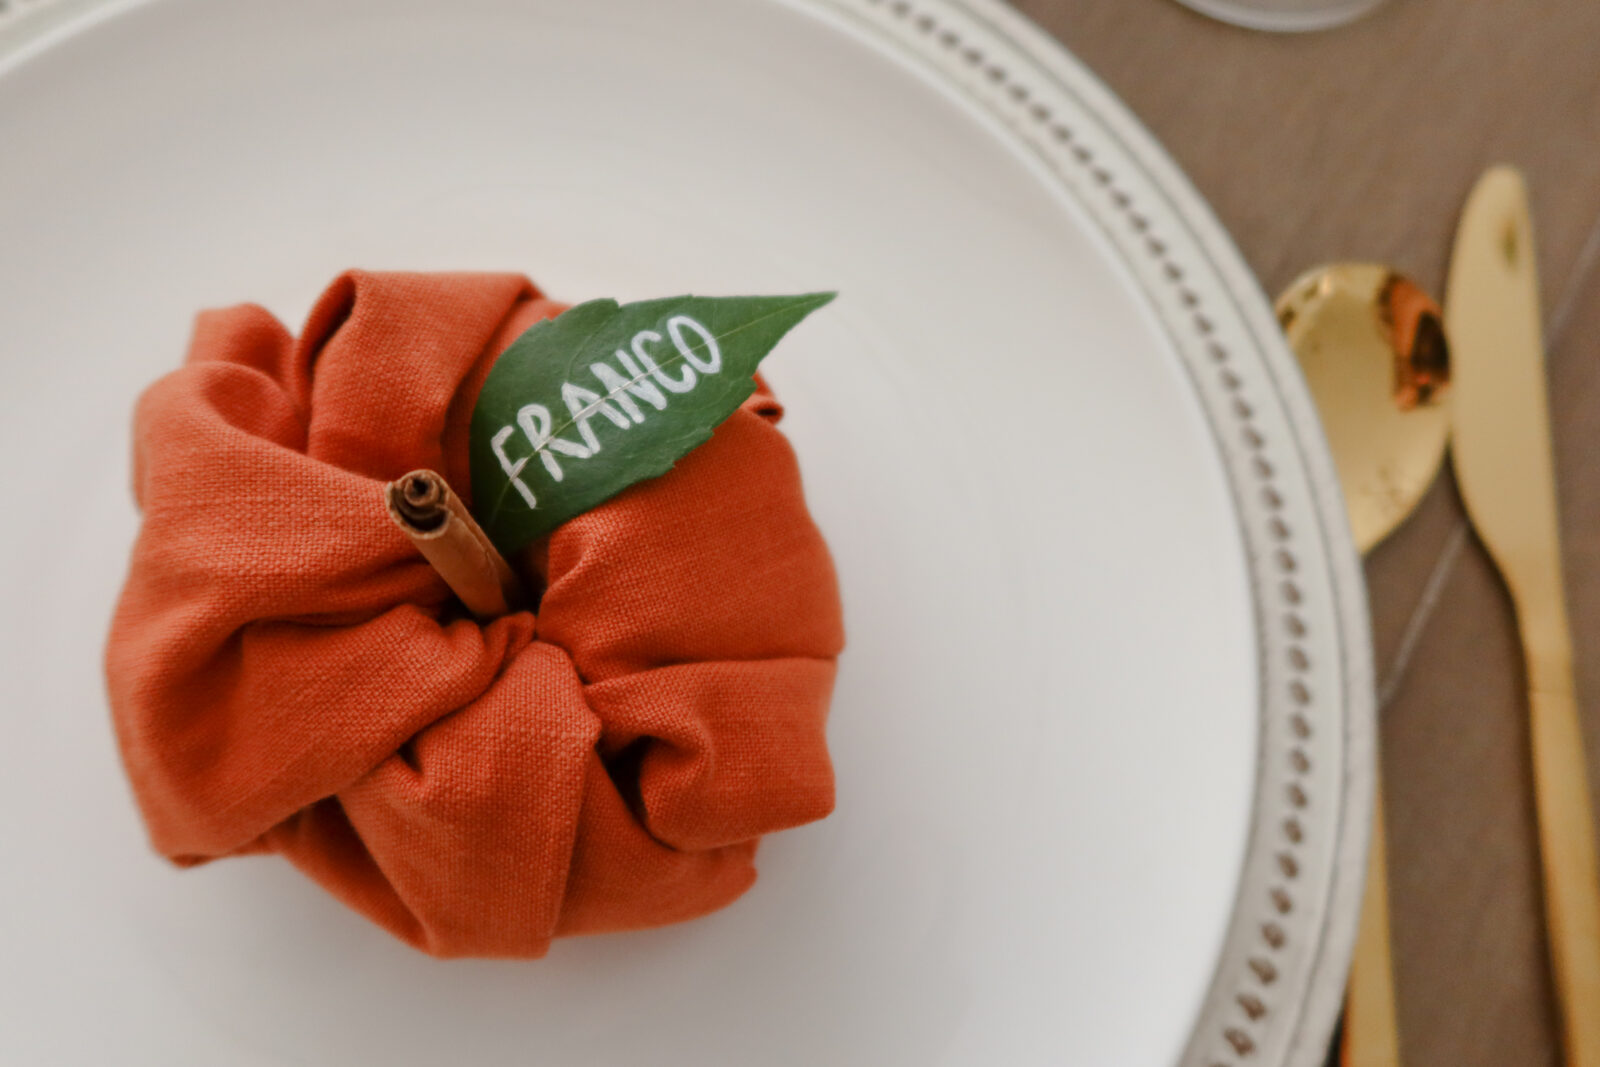
This year, I am thinking of making them the focal point of each place setting, and I am sharing my idea with you! Napkin folding and placement is such an easy way to personalize your table setting and elevating it all in a way that is sure to impress your guests. With that being said, let’s make pumpkin-shaped napkin folds that also double as your place card setting!
Follow my step-by-step guide below for creating this really cute detail. Use any napkin of your choosing – I obviously suggest you stick to fall colours and prints, for a truly festive feel.
I generally buy all my cloth dinner napkins seasonally at Homesense. I have collected quite the collection over the years. Seeing as my dishware always remains the same, I find dinner napkins are an affordable and fun way to make your daily china feel fresh and new for every occasion.
Happy Hosting! XX
center of the napkin.
tucking each tip into the ring, so that it stays secure.
(it will hold without a need to fasten it in any way).
Stick the leaf into the center of the pumpkin.
Pumpkin Napkin Fold Place Setting
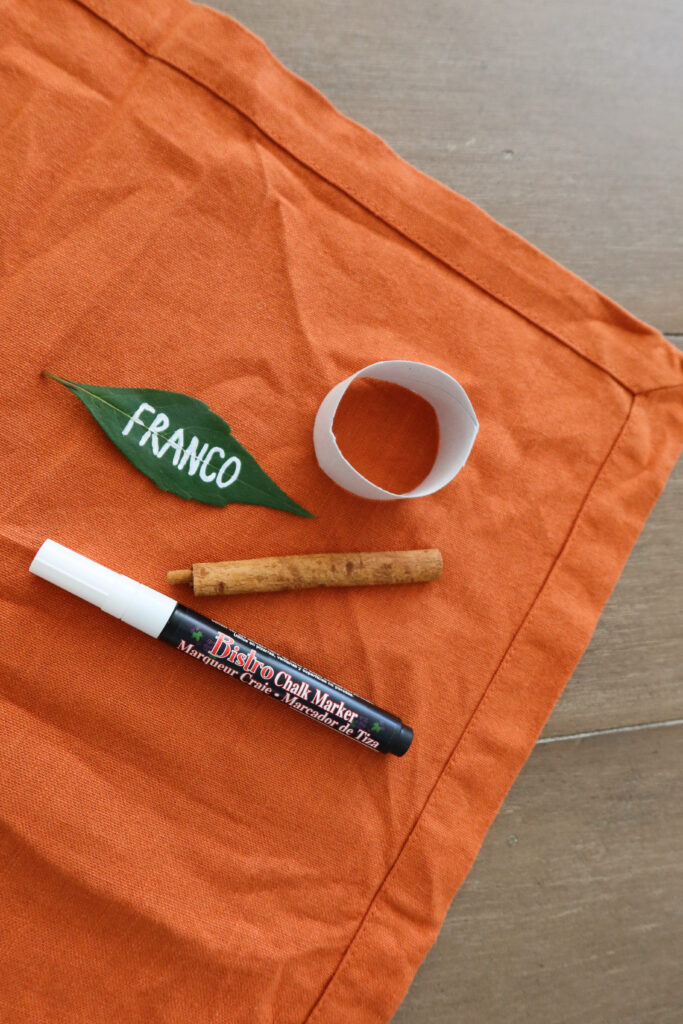
Materials
- Square dinner napkin
- Carton roll from paper towel roll (Cut into 1-inch rings. One roll should make 6 rings)
- Short cinnamon Stick (no taller than 3 inches)
- Small green leaf
- White Sharpie or chalk marker
Instructions
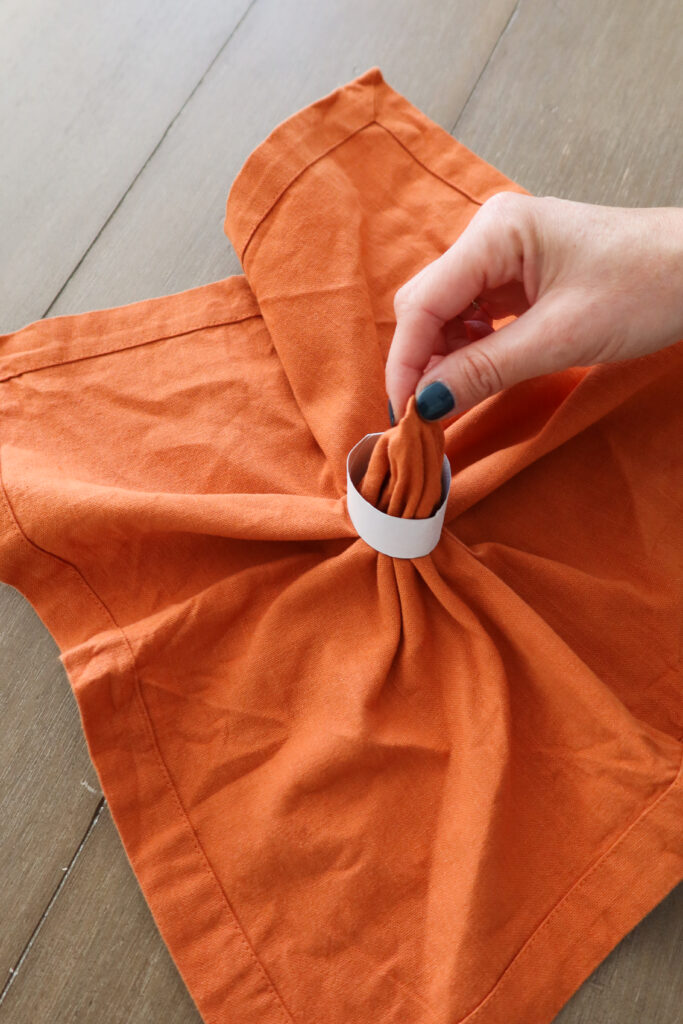
- Lay the napkin out on a flat surface.
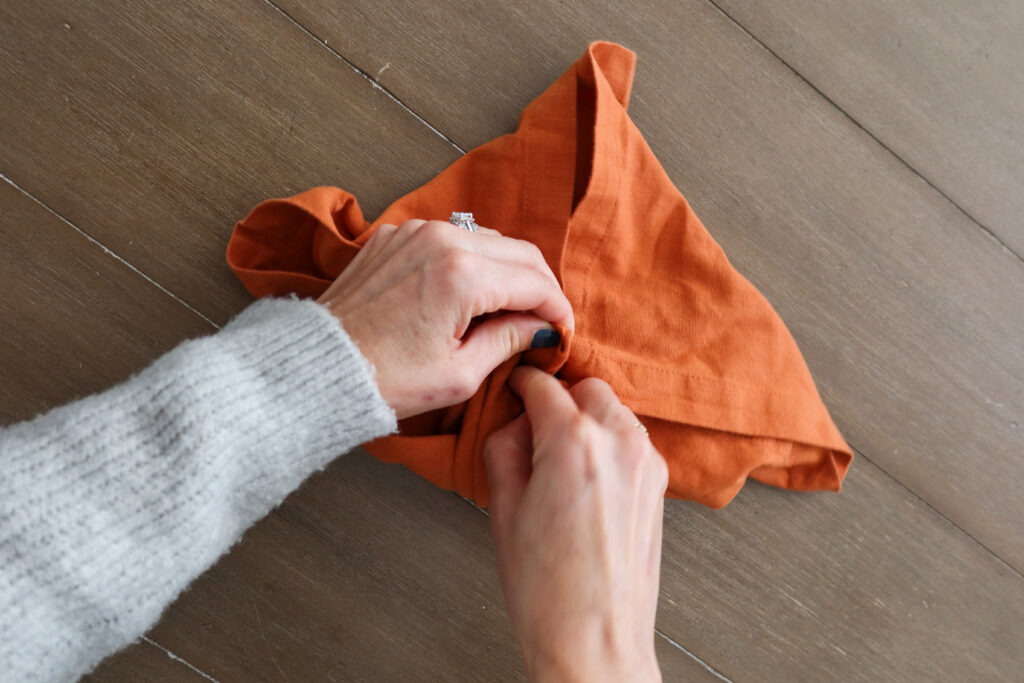
- Place the cardboard ring in the center of the napkin.
- Pull the napkin up and through the ring, so that it sticks out about an inch.
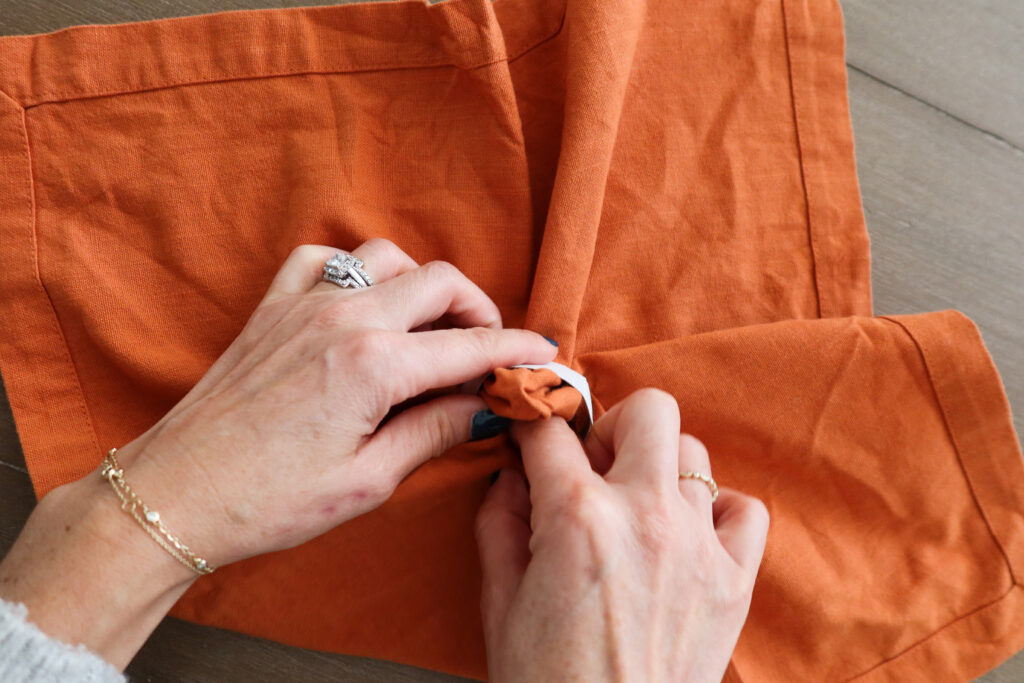
- Fold each corner into the center of the napkin (and towards the ring), tucking each tip into the ring, so that it stays secure.
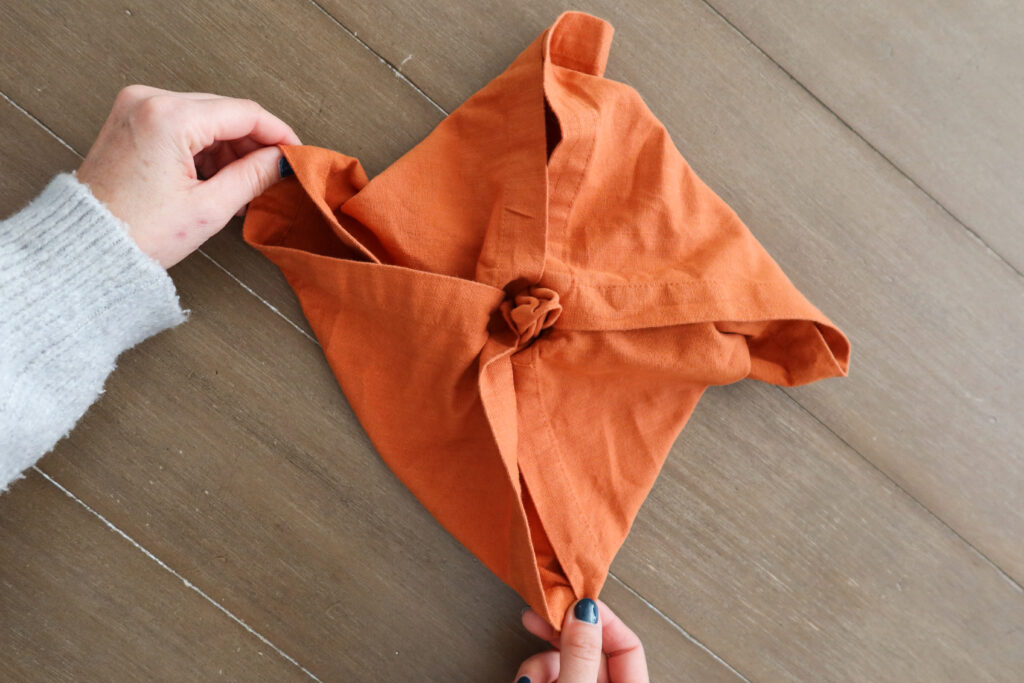
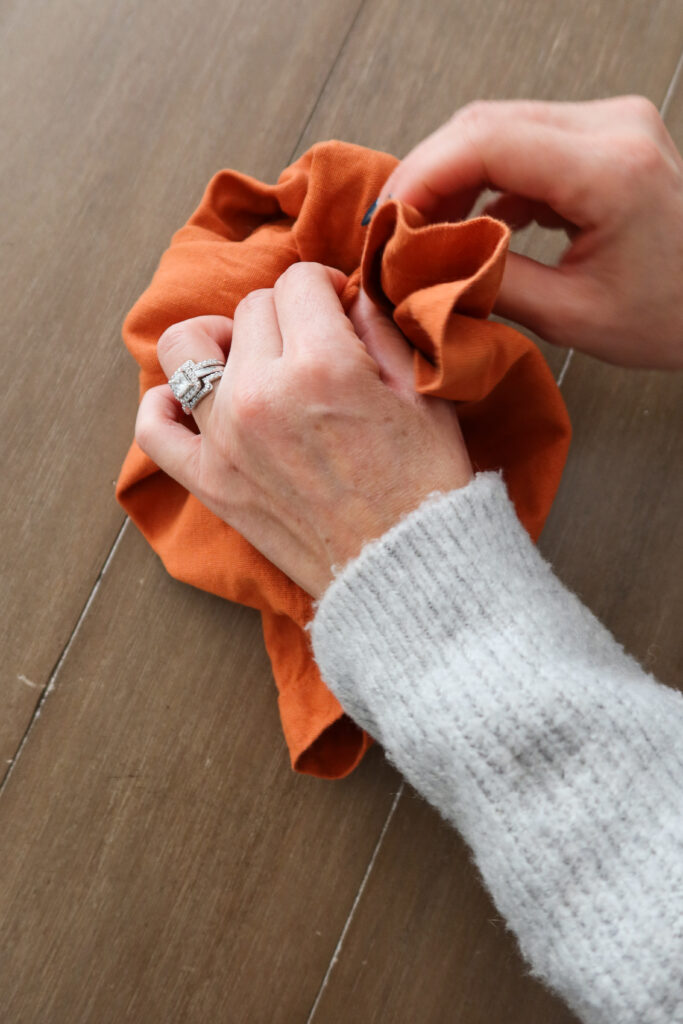
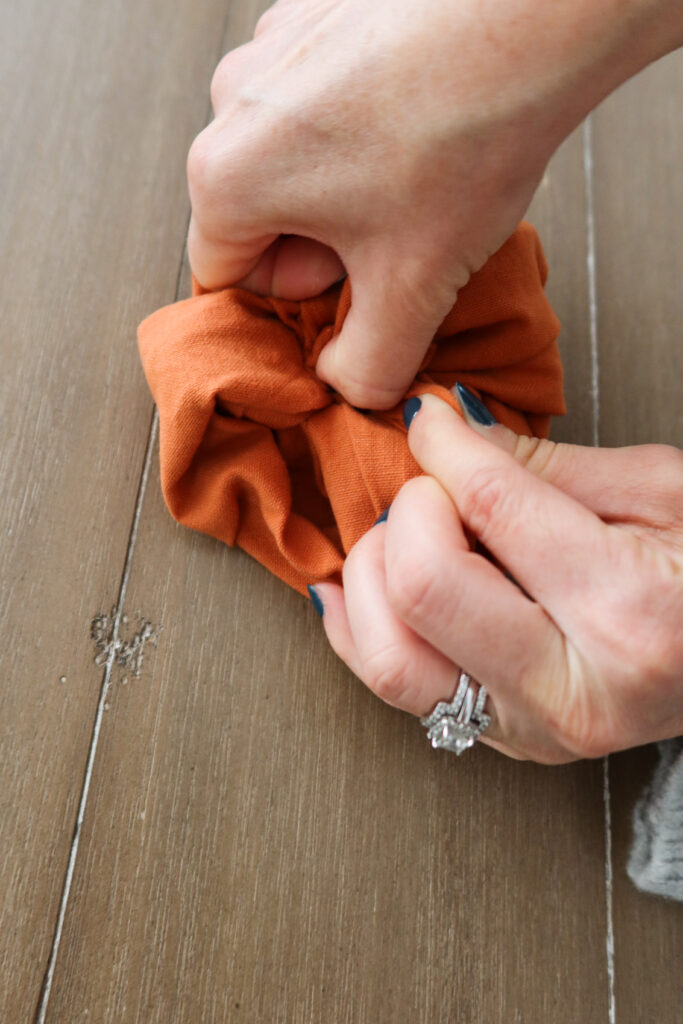
- Tuck the excess fabric into the ring, while shaping it into a pumpkin form. Push in the fabric tightly, so it stays secure.
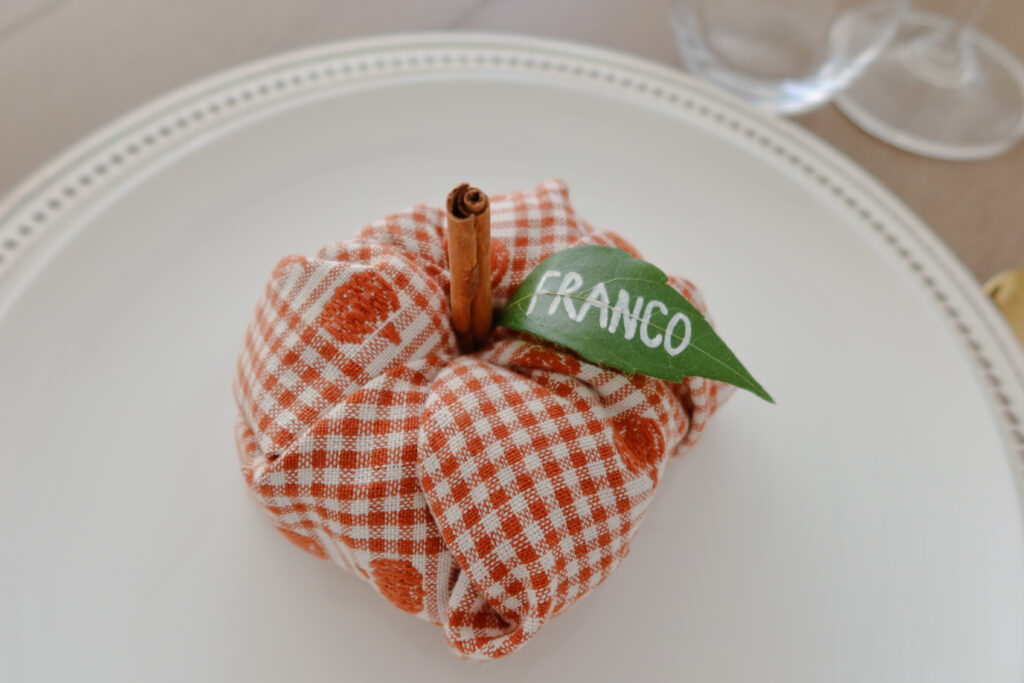
- At this point, you can manipulate the fabric, to ensure that it takes a true pumpkin shape (do this by scrunching it into a ball with your hands).
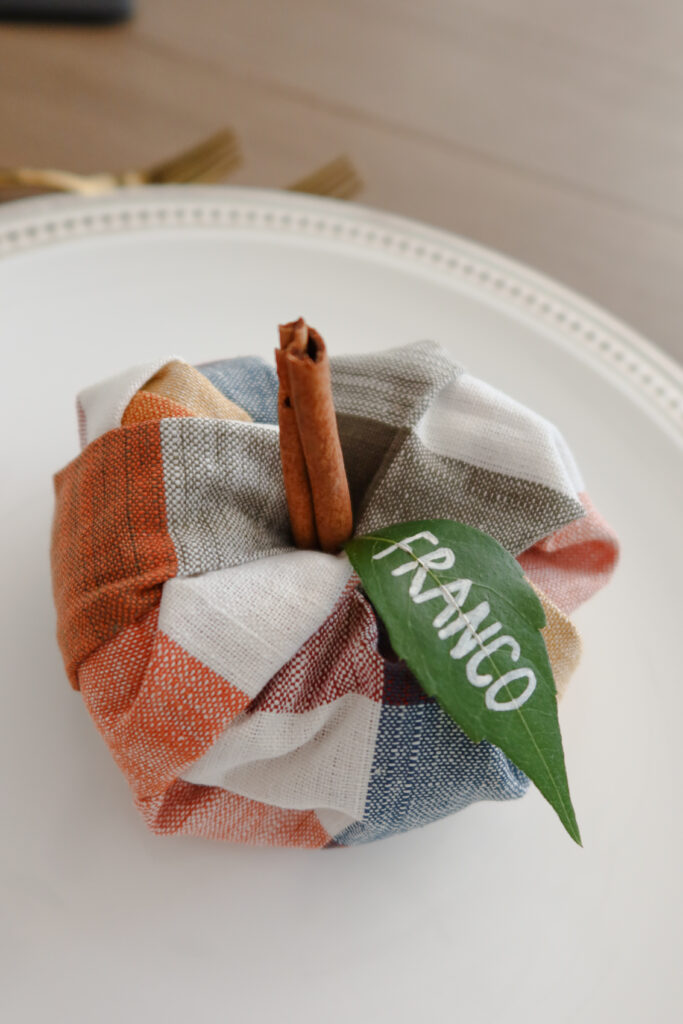
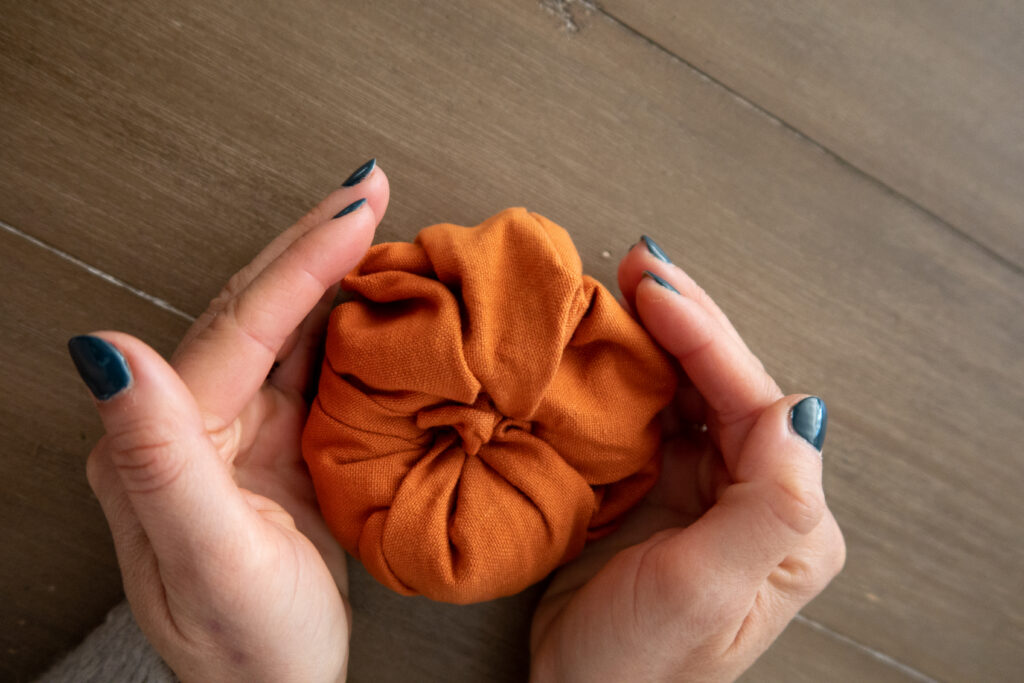
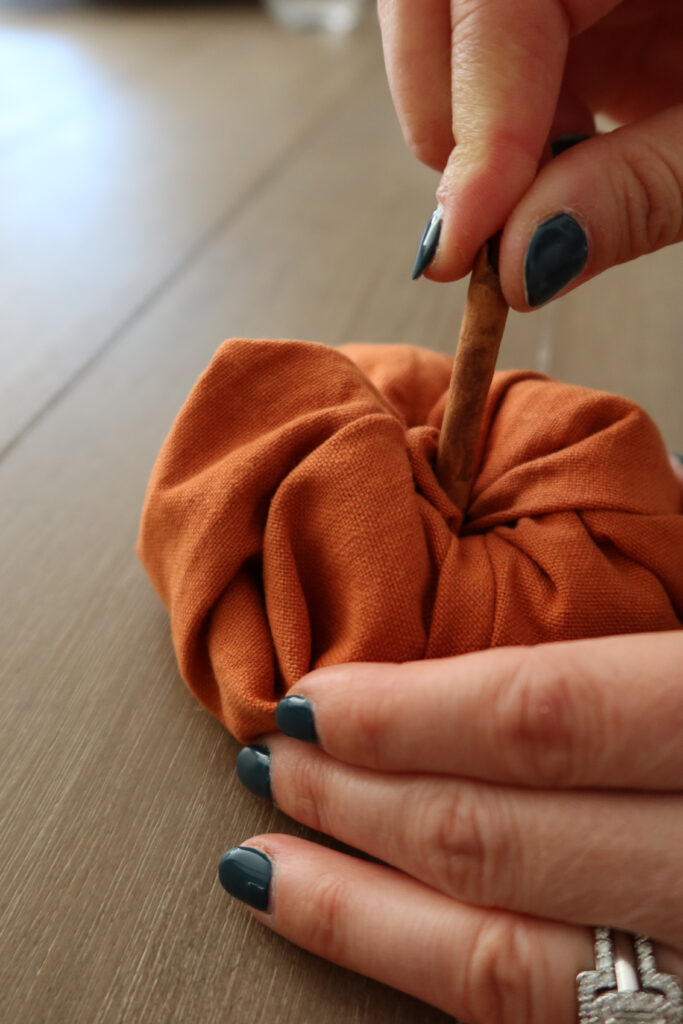
- Stick the short cinnamon stick into the center (it will hold without a need to fasten it in any way). You can also crack a long cinnamon stick in half for this.
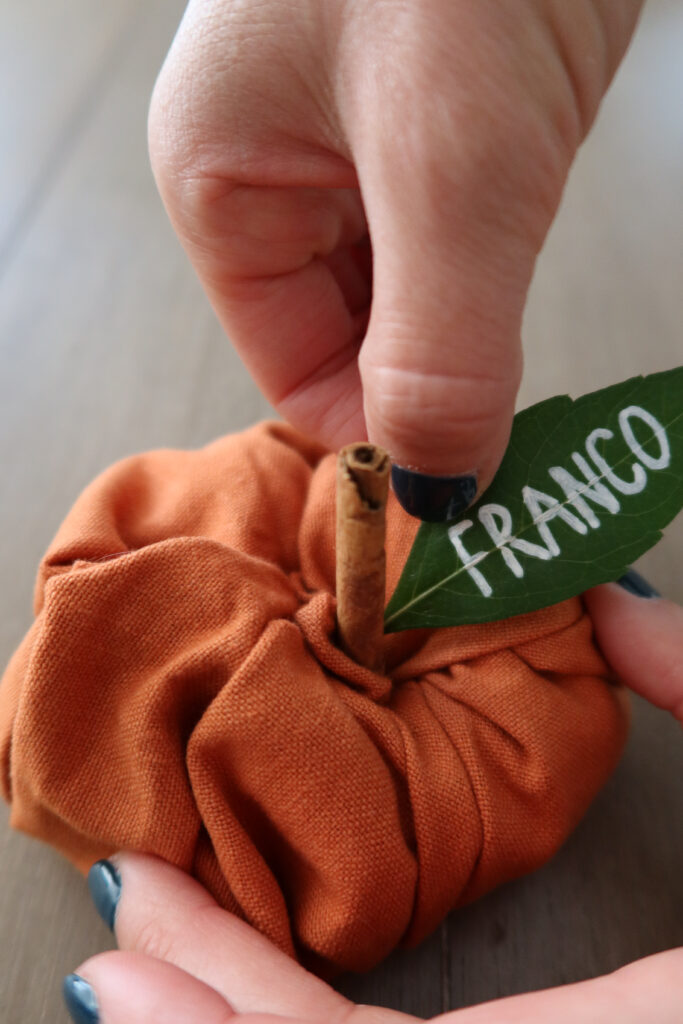
- Write your guest's name on the leaf, using the Sharpie or chalk marker. This step is optional, if you choose not to make place cards or assigned seating.
- Once the ink has dried, stick the leaf into the center of the pumpkin (this too will hold without without a need to fasten it in any way).