Photos by House of Stills
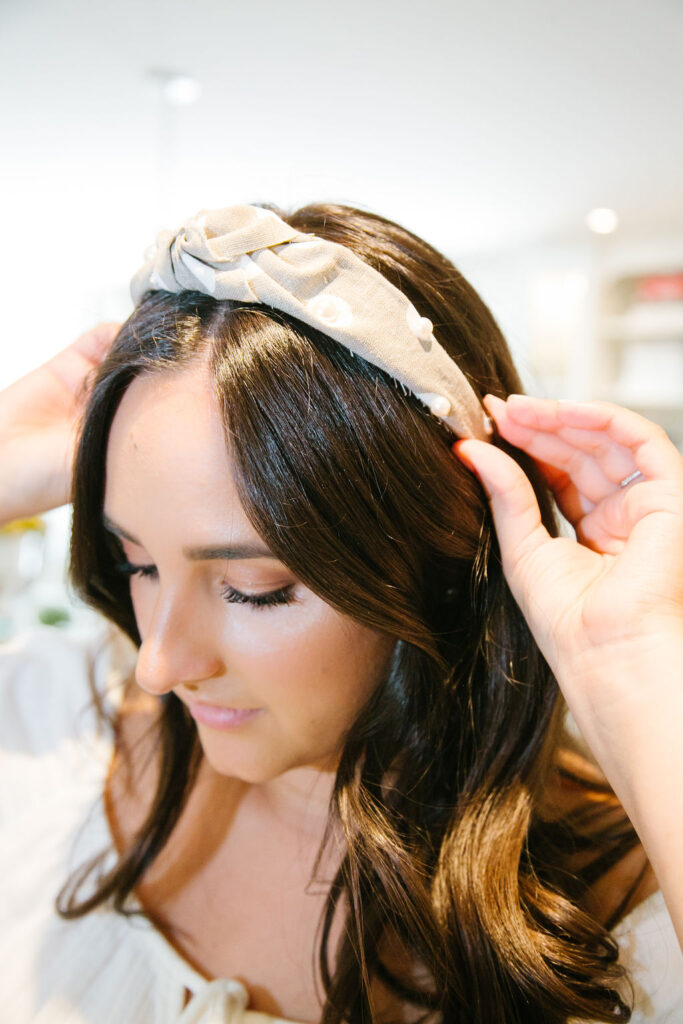
I wore headbands all through high school. Gossip Girl was really big at the time, and I was obsessed with and often compared to Blair Waldorf. I owned a ridiculous amount of headbands that I would use to accessorize the same uniform that I had to wear every single day. I kept all those headbands throughout all of my moves for a reason that is beyond me.
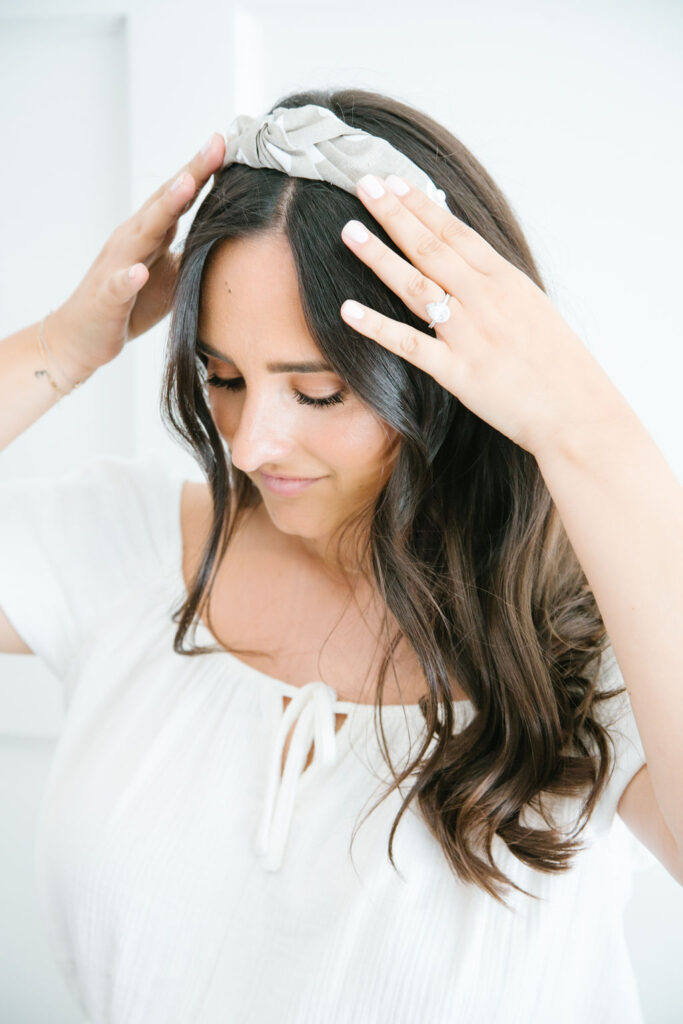
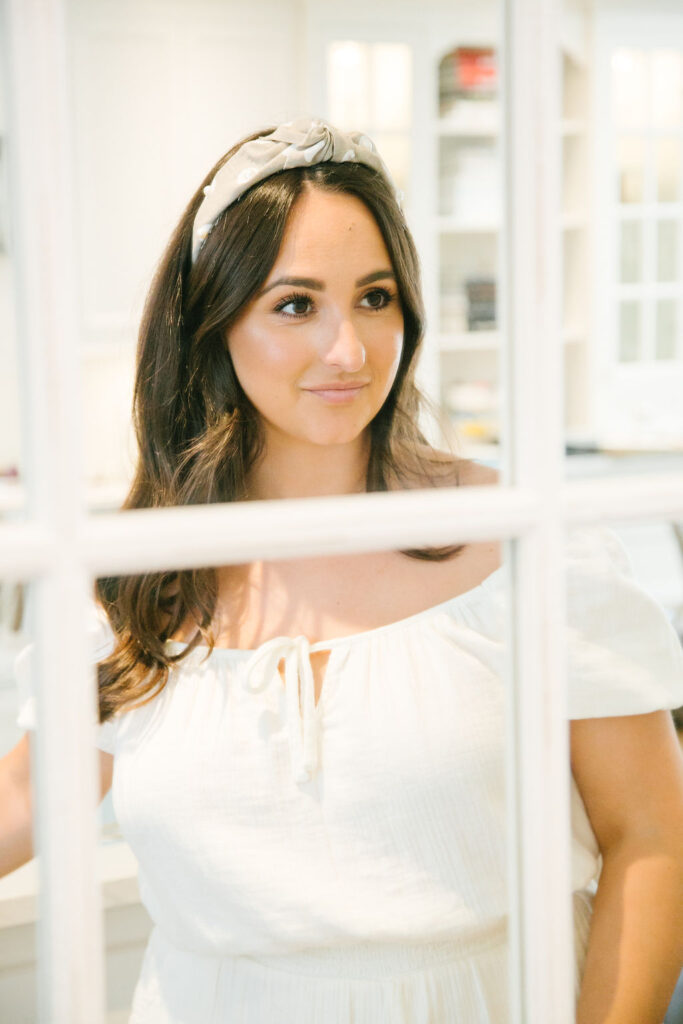
Fast forward almost 15 years later, low and behold, these headbands are once again all the rage. They are the ultimate hair accessory, and since I have a million of them, I ain’t mad at it! More specifically, knotted headbands are super popular and you can find them in all different patterns and fabrics, pretty much anywhere.
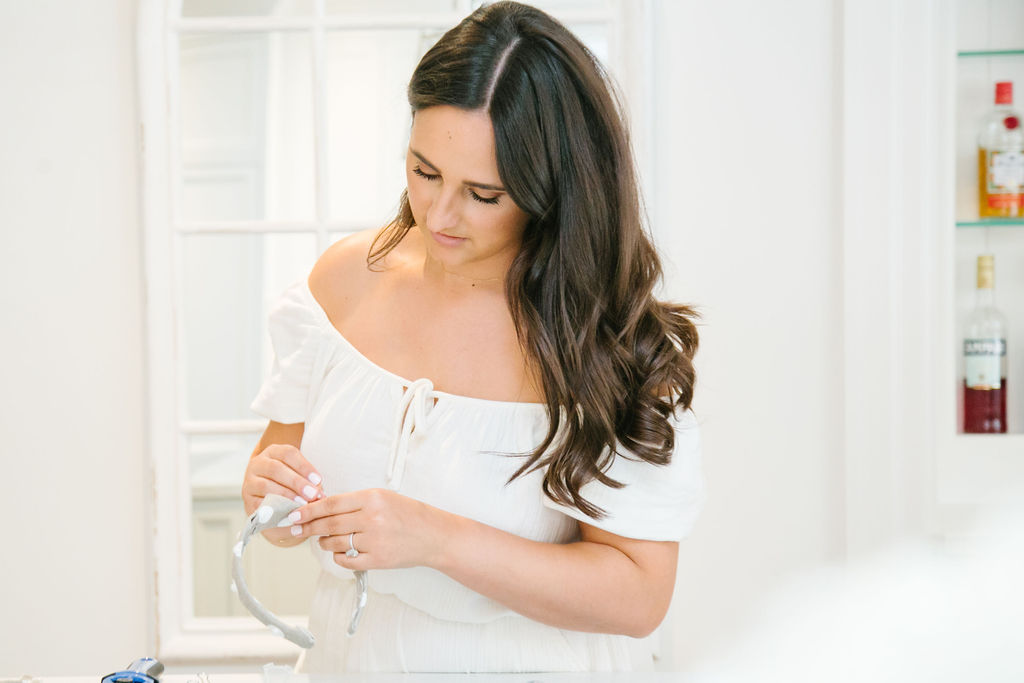
I love going to Fabricville every once in a while to get inspired for new DIYs. You guys know that I love a good craft project, and when I found this cute polka dot pattern fabric, I immediately saw it as a headband. I went on an amazon deep-dive to find all of the items I needed to make this work (and I will link them in the materials section) and with the beauty of Prime, I was ready to go in no time.
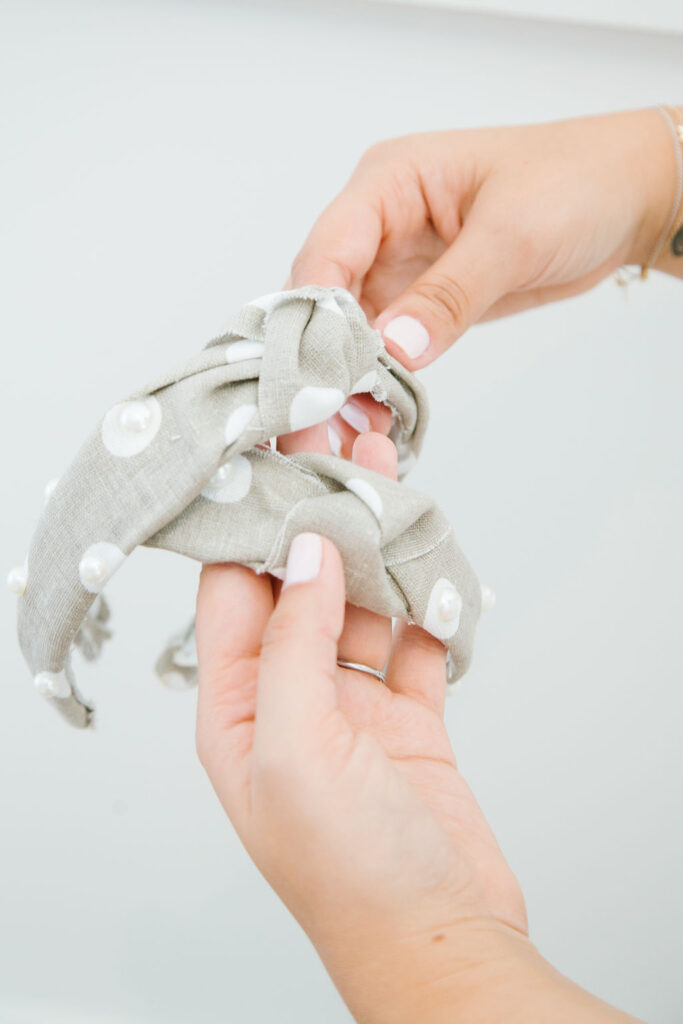
These don’t require any sewing, but you will need to allow certain layers to dry before heading onto the next. It’s relatively easy and can be made with any light fabric you choose, and can be embellished with anything as well. In this case, I found an amazing pack of flat-back pearls in varied sizes, and complemented the white polka dots by gluing them in. So pretty!


I was babysitting my friend Melina’s daughters when I was testing out this DIY project and both of her little ladies loved them and wanted headbands of their own – it brought on the thought this is an easy and fun way to create a mommy-and-me set! This reminds me, gotta get on making some for the girls!
Voilà! XX
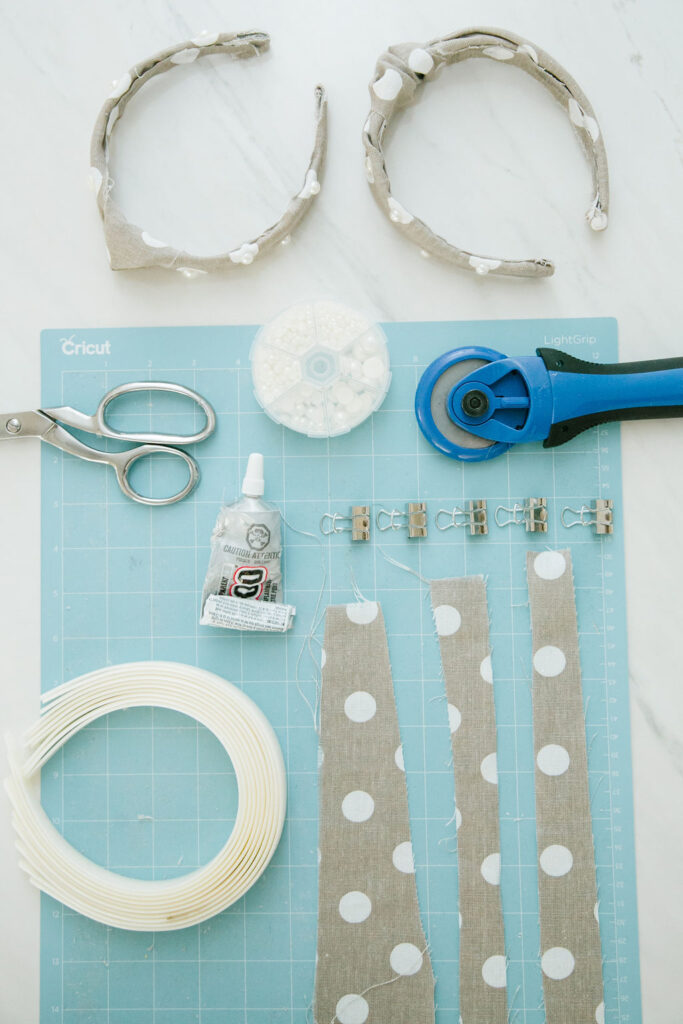
Materials:
[Makes 1 headband]
- Fabric of your choice (I usually buy a yard in case I mess up and need extra – tip: go for what’s on sale!)
- Rotary cutter (cuts straighter and cleaner than scissors, alternatively use fabric scissors)
- Cutting mat (I use my cricut mat – this is great to have for many DIY projects)
- Plastic craft headbands (comes in a pack, allowing you to make a few!)
- Fabric glue (I used this E-6000)
- Craft clips (for clamping to set while drying – you can also use paper clips)
- Fabric scissors
- Decorative element (optional – I used these pearls, they come in many colour options!)
- * I found this kit that sells the rotary cutter with the mat, for a better value, in case you need both. Shop it here.
Steps:
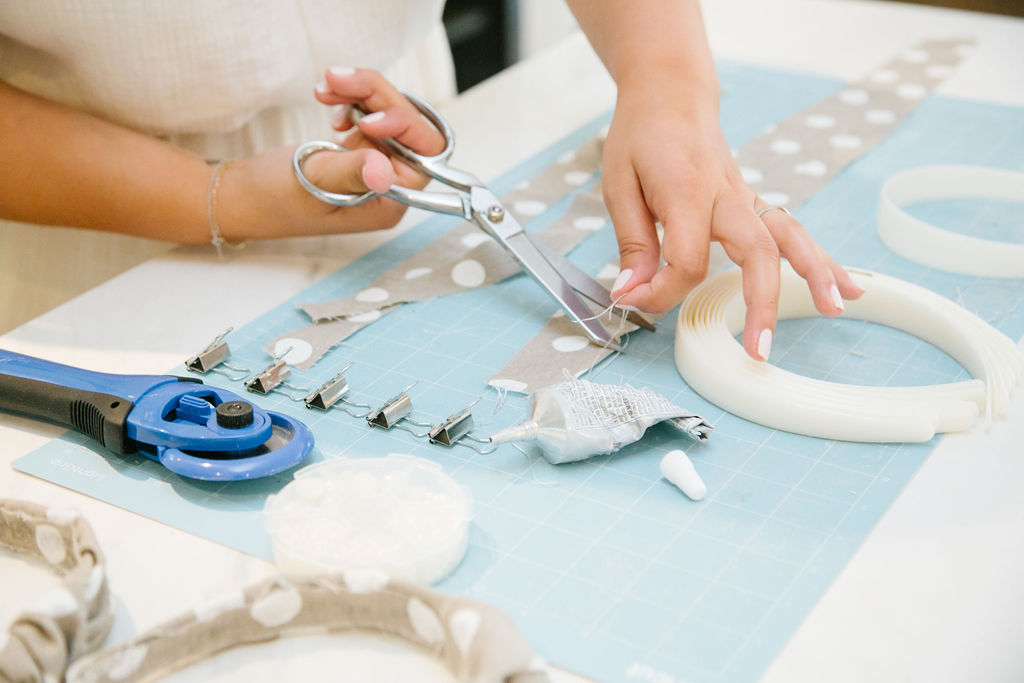
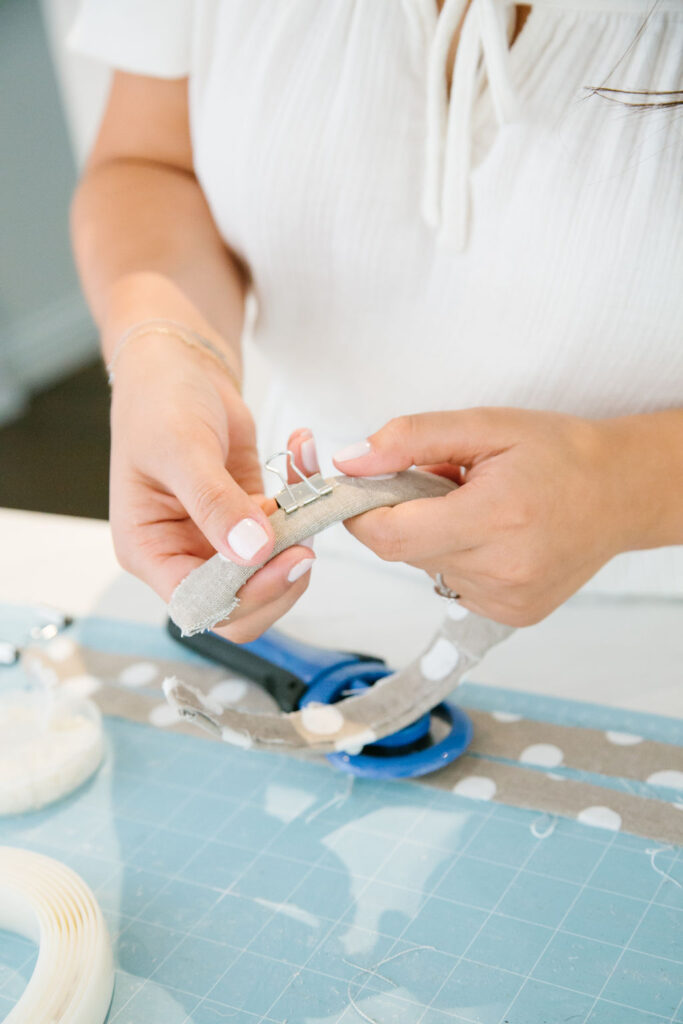
- Cut your fabric on the cutting mat and using the rotary cutter. You will want to make two pieces: one thin and long, measuring 18 inches long and 1 inch wide – the other, 24 inches long and three inches wide. These will be longer than the actual headband, giving you room for error; you will cut off the excess.
- On the bigger piece, cut the corners off to create a “V” shape on both ends, tapering from the middle point to the end.
- Glue the smaller piece of fabric to the underside of the plastic craft headband. Allow to dry, and cut the excess on the ends.
- When almost dried, tie the second piece of fabric around the middle of the headband, tying it into a knot on the top and letting the fabric fall onto either side of the headband, evenly.
- Glue the fabric along the headband on either side of the knot, clamp and allow to dry.
- Once dried, trim the ends, keeping about an inch on either side. Fold them onto the inside of the headband to create smooth tips so that it isn’t bothersome begind your ears. Glue, clamp, and let dry.
- Once dried, fold the excess fabric into the inside of the headband (don’t make it too tight, it should appear slightly bubbled), clamp, and let dry.
- To finish, glue the embellishments scattered a little bit everywhere and in no specific pattern, onto the top of the headband. Allow to dry fully.
Voilà! XX